Purpose / Goal
The goal of this project was to design and build a physical gameboard system from concept to final prototype. The project combined mechanical design, CAD modeling, 3D printed parts, physical assembly, Arduino control, servo integration, and wiring into one complete build.
Parts / Tools Used
- CAD modeling software
- 3D printed mechanism parts
- Laser-cut structure pieces
- Arduino-based control setup
- Servo motor integration
- Rack-and-pinion / gear motion mechanism
- Wiring and jumper connections
- Physical gameboard frame and prototype materials
Build Process
The project began with planning and CAD modeling of the gameboard structure and motion mechanism. After the main design was modeled, parts were prepared for fabrication using a mix of laser cutting and 3D printing.
The structure was then built and adjusted so the mechanical pieces could fit and move correctly. Arduino and servo components were added after the physical structure was developed, allowing the electronic control system to connect with the mechanical gameboard design.
Challenges
Main challenges included designing a structure that could actually be assembled, aligning physical parts, fitting 3D printed mechanism pieces, integrating servos, and keeping the wiring organized inside the final build.
The project required multiple rounds of testing and adjustment because the CAD design, mechanical movement, Arduino control, 3D printed parts, laser-cut structure, and final physical assembly all had to work together.
Results / Evidence
The final result was a completed physical gameboard prototype that combined CAD design, 3D printed mechanism parts, laser-cut structure pieces, Arduino control, servo movement, and final mechanical assembly into one working system.
The project shows the full engineering process from concept and mechanism planning to fabrication, wiring, testing, and final integration. The prototype includes a rack-and-pinion / gear-based motion concept, Arduino-controlled servo movement, and a physical frame that was assembled and tested as part of the final gameboard build.
Evidence for the project includes CAD and mechanism images, prototype wiring photos, 3D printed/laser-cut parts, flowchart planning, and final assembly images showing the progression from design to a completed working prototype.
Project Images
These images show the final gameboard, prototype wiring, 3D printed mechanism pieces, base design, gear mechanism, rack-and-pinion motion concept, and system planning flowchart.
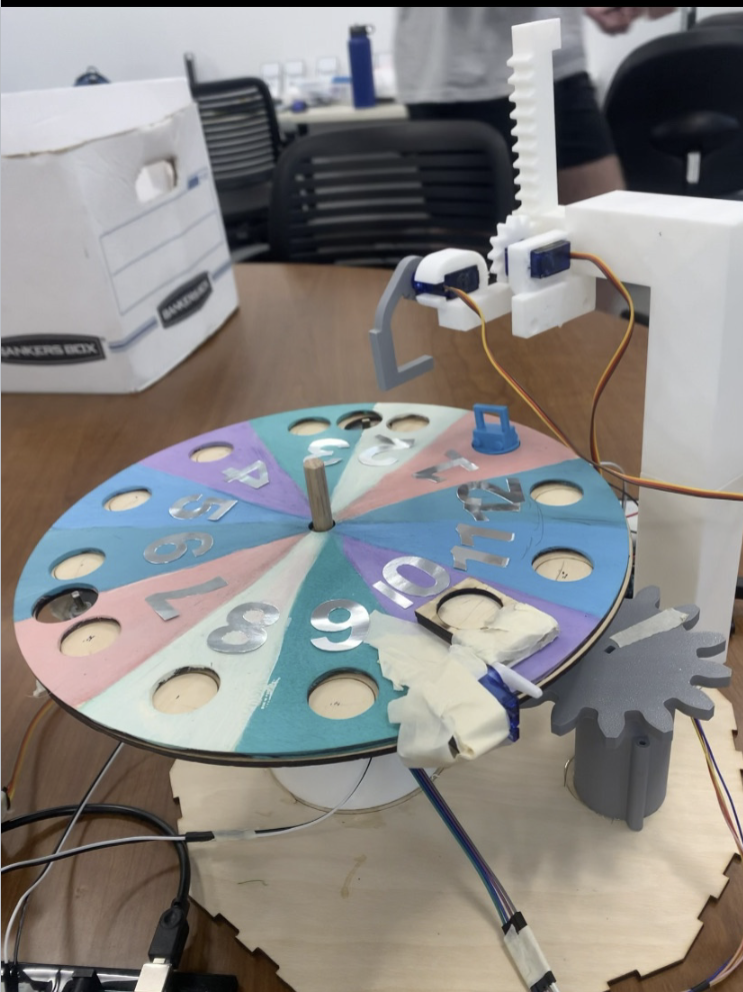
Final physical gameboard build.
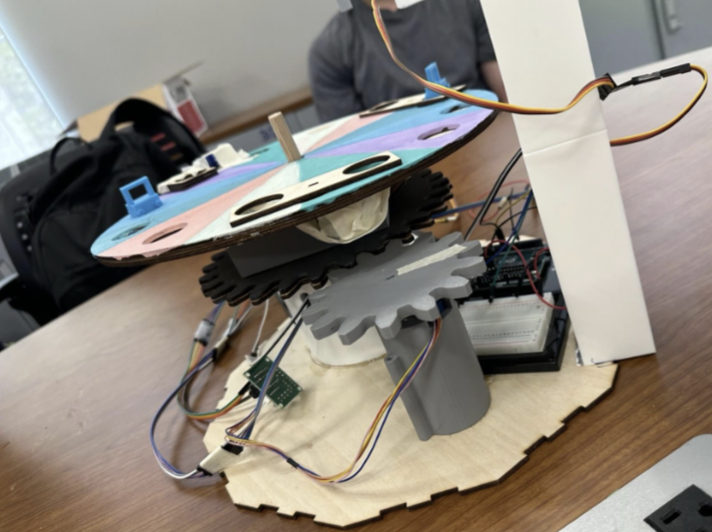
Final build close-up and assembled prototype view.
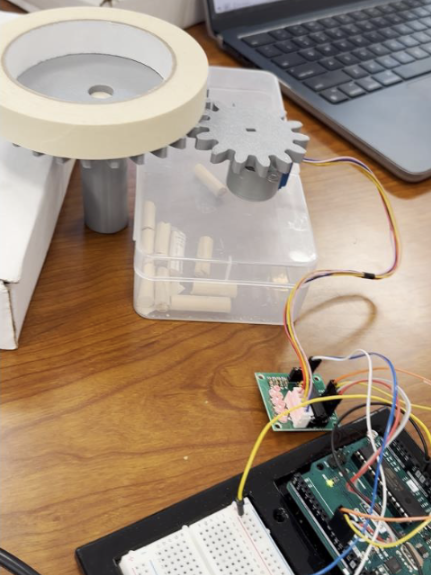
Working prototype with Arduino, wiring, and servo integration.
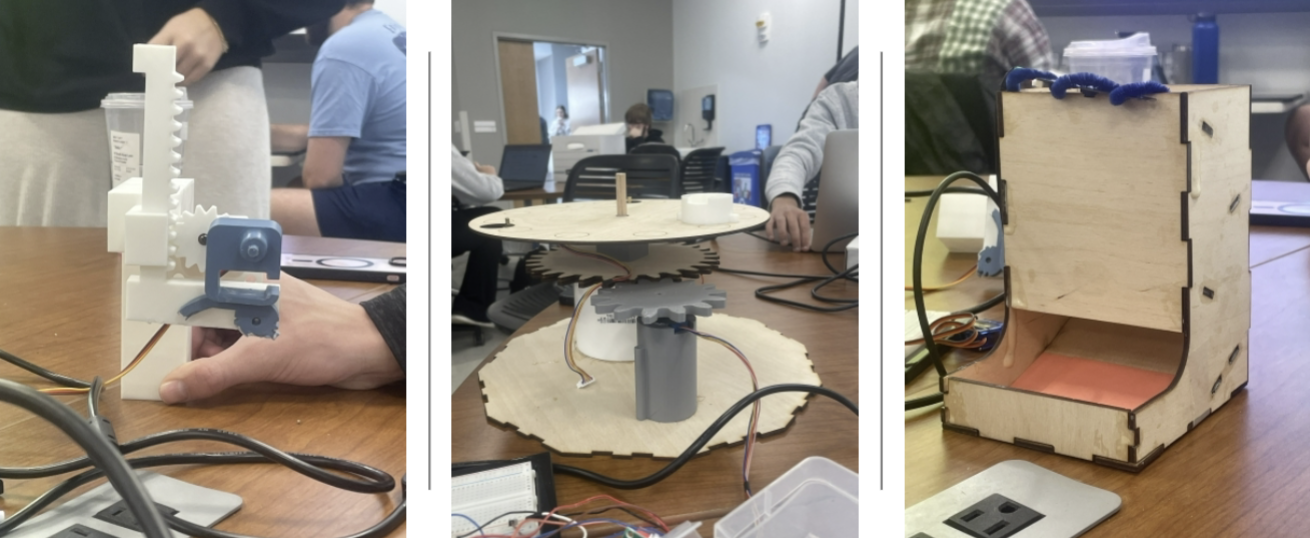
Prototype stages showing wiring, servo movement, and mechanical assembly.
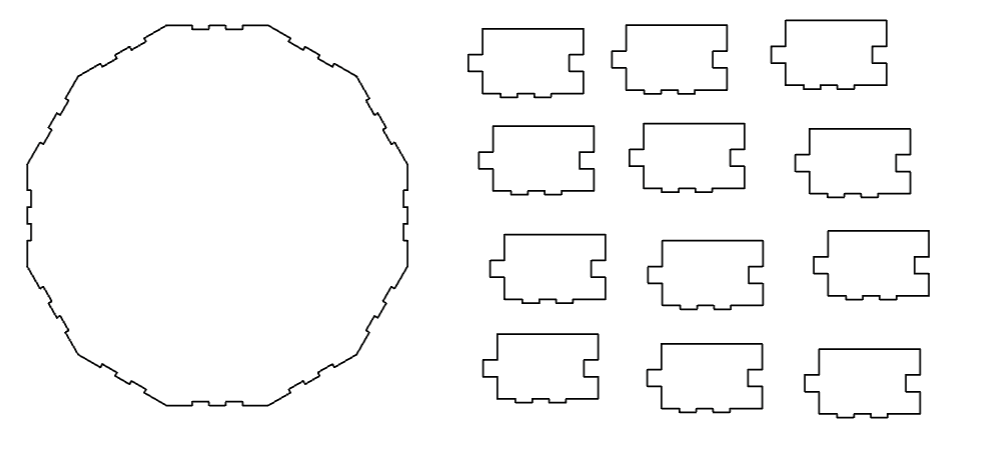
Base layout / cut design used for the gameboard structure.
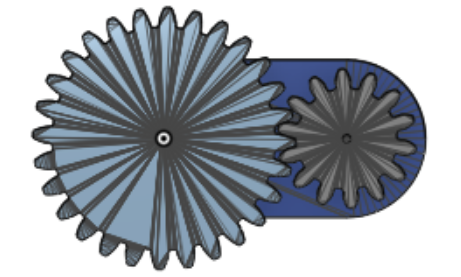
Gear mechanism design for the gameboard motion system.
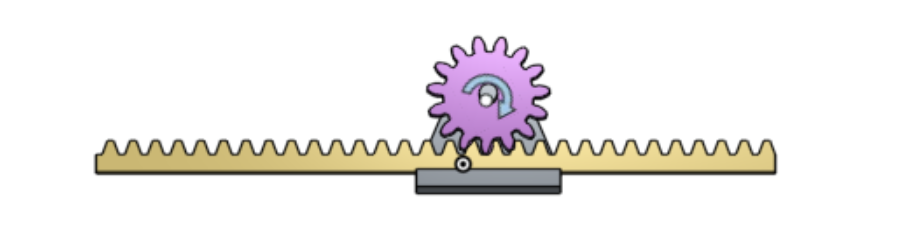
Rack-and-pinion mechanism used for motion planning.
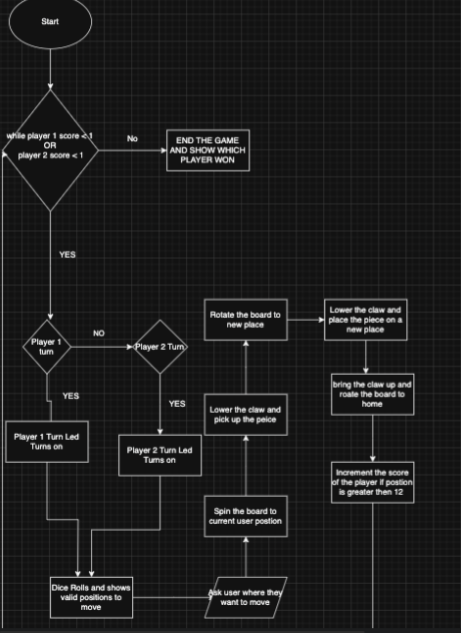
Flowchart / system planning for the gameboard control process.
Next Improvements
Future improvements could include cleaner wire routing, stronger mechanical mounting, better servo calibration, improved documentation, and a more polished final enclosure or gameboard finish.